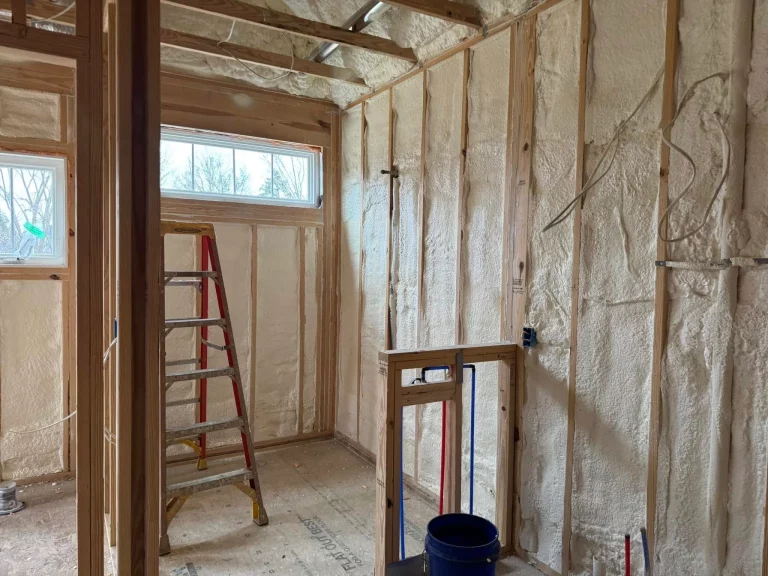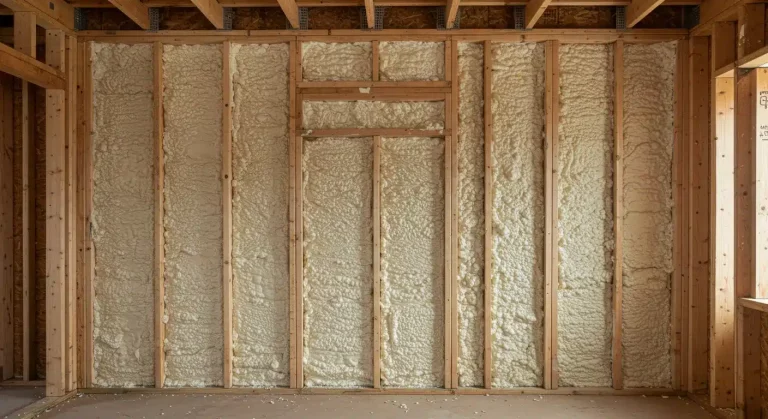

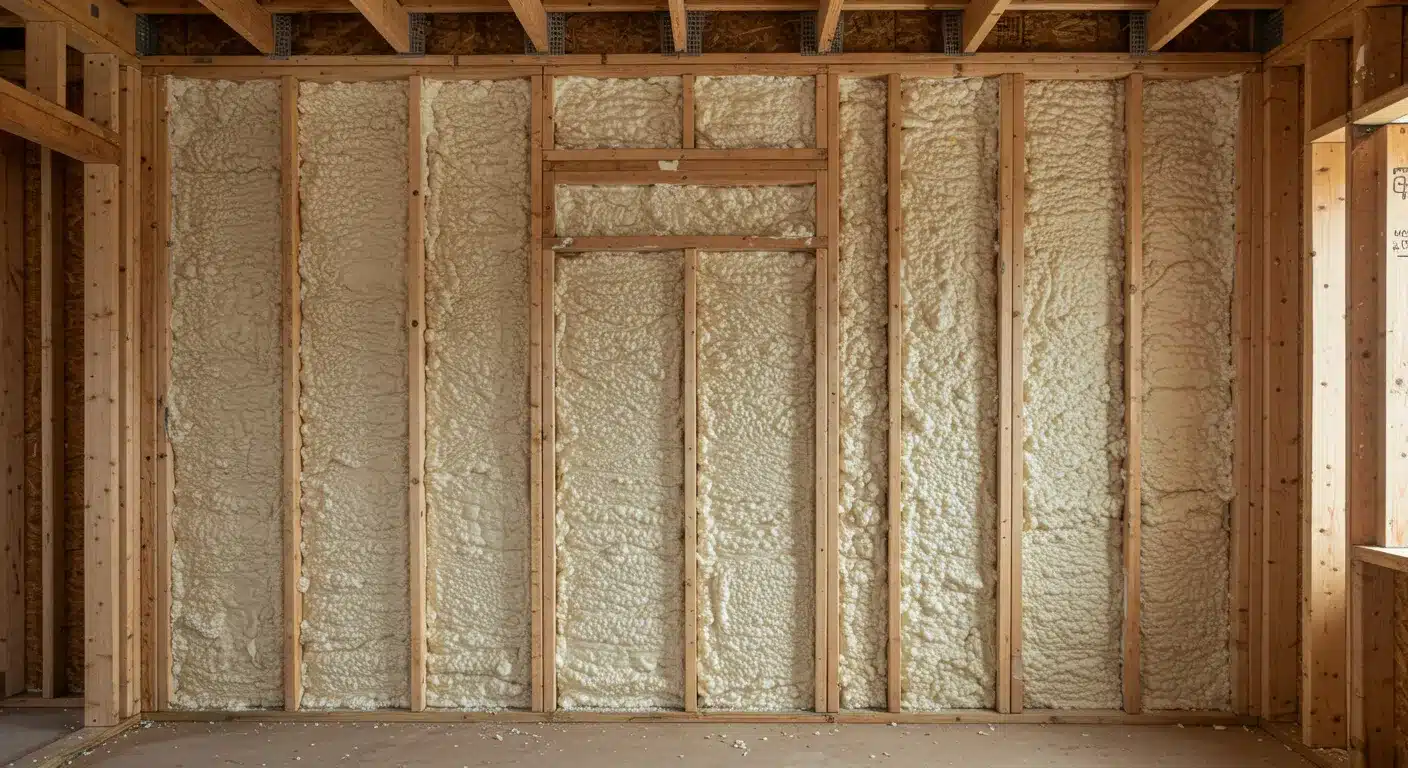
Spray foam insulation needs professional repair when it pulls away from framing, shows gaps, cracks, shrinkage, or crumbling areas, stays soft or sticky instead of firm, releases a chemical smell that lingers well past the curing window, or displays moisture staining, condensation, or mold on surrounding surfaces. Rising energy bills, uneven room temperatures, and returning drafts are performance signals that the air seal has failed. The right response depends on the foam type in your building, whether the damage is isolated or widespread, and how much moisture is involved, because those factors determine whether a targeted patch restores performance or whether sections must be removed and re-sprayed. For homeowners and property managers in Fresno, where long cooling seasons push insulation hard, catching these symptoms early is the difference between a minor repair and a major remediation project.
TL;DR
- Gaps, shrinkage, and delamination from studs or sheathing mean the foam is no longer air sealing and needs professional attention.
- Soft, sticky, or crumbly foam usually points to a bad chemical mix or curing failure, and it typically cannot be fixed with a surface patch.
- A persistent chemical odor weeks after installation suggests incomplete curing, a situation that affects indoor air and warrants expert evaluation.
- Moisture staining, condensation, or mold near foam signals a failed moisture strategy that must be repaired at the source, not just cleaned.
- Rising utility bills and uneven temperatures are the most common early performance signs of a compromised spray foam air seal.
- Response speed matters: the sooner defects are assessed, the smaller the repair scope and the lower the disruption.
- Foam type changes the diagnosis: open-cell and closed-cell foams fail differently and require different repair strategies.
Why Spray Foam Fails: The Chemistry Behind the Symptoms
Spray polyurethane foam is created when two chemical parts, side A (isocyanates) and side B (polyol resin, catalysts, and blowing agents), meet at the spray gun and react. The EPA explains that this reaction is exothermic and generates heat, and the mixture expands up to 30 to 60 times its liquid volume before hardening into an insulating mass, according to Wikipedia’s overview of spray foam.
That precision is why failures happen. When the two parts are not mixed in the correct proportion, when substrates are damp, dusty, or too cold, or when passes are applied too thickly, the foam may never fully cure or bond. Properly cured foam is inert, but foam that cures badly can stay tacky, shrink, crumble, or trap moisture against framing. Understanding these issues helps you recognize when Spray Foam Insulation Repair may be necessary instead of guessing.
Visual Warning Signs of Failing Spray Foam Insulation
Most spray foam problems are visible long before they show up on your utility bill. Walk your attic, crawlspace, or pole barn with a flashlight twice a year and look for these conditions:
| Visual Sign | What You See | Likely Cause | Professional Action |
|---|---|---|---|
| Gaps and shrinkage | Foam pulling away from studs, rafters, or sheathing | Poor substrate prep or cold application | Cut out affected areas and re-spray |
| Soft or sticky spots | Foam never hardened, dents easily | Improper chemical mix or ratio | Remove defective foam entirely |
| Crumbling or flaking | Surface powders when touched | UV exposure or degraded curing | Seal, coat, or replace affected zones |
| Discoloration | Yellowing, brown rings, or water staining | Moisture intrusion behind foam | Trace and repair the leak first |
| Cracks and splits | Fractures running through foam lifts | Excessive heat during cure or movement | Structural review and re-application |
A useful reference point: closed-cell foam should be rigid with sealed cells, while open-cell foam should feel uniformly spongy, not brittle. Either type that varies dramatically from area to area was likely installed inconsistently.
Performance Clues: Comfort, Bills, and Air Leakage
The main value of spray foam is its air sealing. Air leakage is expensive, studies summarized by Wikipedia attribute roughly 40 percent of a home’s energy loss to air infiltration through walls, windows, and doorways. When foam fails, that leakage returns. Watch for signs of spray foam insulation damage:
- Rooms that never hold temperature, especially those farthest from the HVAC unit.
- Bills that creep upward year over year with no rate change or usage change.
- Drafts near walls, outlets, or rim joists that the foam installation was supposed to eliminate.
- Longer HVAC run times as equipment compensates for lost conditioned air.
One performance season is usually enough to confirm a problem. If comfort declined within a year of installation and has never recovered, the foam itself is the prime suspect.
Moisture, Mold, and Persistent Odor Red Flags
Moisture is where small foam problems become expensive ones. Foam applied incorrectly or in damp spaces can trap moisture against wood and eventually damage the structure it was meant to protect, a documented failure mode noted in Wikipedia’s spray foam article. The EPA states
plainly that the key to mold control is moisture control, and advises drying wet materials within 24 to 48 hours to prevent growth.
Odor deserves equal respect. While curing, spray foam emits gases, and it is considered inert only after it cures, per the EPA’s guidance on SPF and safe use. A faint smell for a day or two after installation can be normal. A strong chemical odor that persists for weeks, causes eye or respiratory irritation, or intensifies in hot weather suggests foam that never cured correctly. That is not a ventilation issue you can wait out, it is a repair situation requiring professional assessment and possibly removal.
Keep indoor humidity below 60 percent, ideally 30 to 50 percent, as the EPA recommends, and treat any musty smell near foam assemblies as a hidden moisture problem until proven otherwise.
Spot Repair vs. Full Remediation: Choosing the Right Strategy
Not every defect demands tearing out foam. Match the repair strategy to the failure mode:
| Failure Type | Best Strategy | Expected Outcome | Limitations |
|---|---|---|---|
| Isolated small gaps | Targeted re-spray of affected cavities | Restored air seal in one visit | Only works if surrounding foam is sound |
| Widespread shrinkage | Remove and re-spray full sections | Long-term performance reset | Higher disruption, longer schedule |
| Odor with soft foam | Full removal of defective material | Restored indoor air quality | Requires ventilation planning |
| Moisture plus mold | Fix leak, remediate, then re-insulate | Prevents structural decay | Must address source before re-spraying |
| Surface crumbling | Trim, seal, or coat exposed foam | Stabilizes the assembly | Cosmetic fix, not a cure for bad foam |
Recommendations by Property and Situation
- Homes with recent installation: Inspect at the 6 and 12 month marks. Early shrinkage or odor is easier to correct under workmanship discussions while the surface is still accessible.
- Older homes with decades-old foam: Prioritize moisture and mold review. The EPA’s guide to mold and moisture in homes notes mold can hide behind wall coverings and drywall, so visible growth is often the late stage.
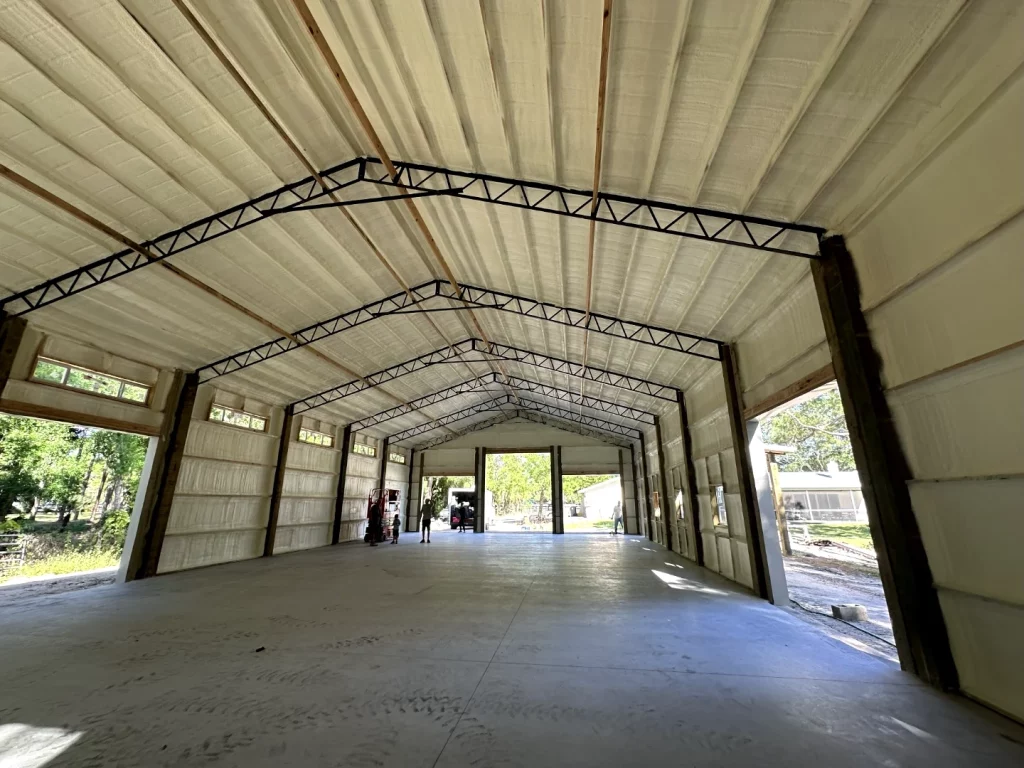
- Agricultural and metal buildings: Check roof deck adhesion after extreme heat events. Large sheet-metal expansion accelerates delamination.
- Rental and commercial portfolios: Put spray foam areas on a documented annual inspection cycle so small defects never reach the remediation stage.
Signs You Have Found the Right Repair Approach
A trustworthy repair process shares the same qualities regardless of the building. You should expect:
- A diagnostic first conversation covering installation history, symptoms, and moisture events before any quote.
- Physical inspection with photos of gaps, staining, and foam conditions that you can review yourself.
- A clear separation between repair and removal recommendations, with reasoning tied to what was actually found.
- Moisture source correction before re-spraying, because new foam over an active leak just hides the damage.
- Written scope and warranty terms that describe exactly which areas will be treated.
Get an Expert Evaluation from Supreme Spray Foam Fresno
If you are seeing gaps, odors, moisture, or climbing energy bills, our team at Supreme Spray Foam Fresno will inspect your foam, identify the failure mode, and recommend the smallest repair that actually solves it. We serve homeowners and property owners throughout the Fresno area with honest assessments and quality workmanship. Email us at [email protected] or call (559) 545-0800 to get started.
Small foam defects never stay small. Catch them now and your insulation will keep protecting your building for decades.
Frequently Asked Questions
How long should spray foam smell after installation?
A light odor during the first 24 to 72 hours of curing is normal. A strong chemical smell lasting weeks or causing irritation suggests improper curing and needs professional evaluation.
Can I patch small gaps in spray foam myself?
Store-bought cans suit tiny gaps in accessible spots, but only professional re-spraying restores a continuous air seal across connected cavities where performance actually depends on it.
Does bad spray foam always need full removal?
Not always. Isolated shrinkage or small voids can be re-sprayed, but soft, sticky, or moisture-contaminated foam generally must be removed before replacement will perform.
How often should spray foam insulation be inspected?
Plan on a visual inspection once a year, plus a prompt check after roof work, storms, plumbing leaks, or any new moisture staining near insulated assemblies.
Can spray foam hide water leaks?
Yes. Closed-cell foam resists water and can mask slow leaks while moisture builds against framing, which is why staining, musty odors, or humidity changes deserve immediate investigation.
Sources
- Wikipedia – Spray Foam – Reference overview of spray polyurethane foam chemistry, open-cell and closed-cell types, R-values, curing behavior, and documented failure risks when foam is applied incorrectly or in damp spaces.
- EPA – Chemicals and Production of Spray Polyurethane Foam – Government explanation of side A and side B chemistry, the exothermic reaction, and why correct proportions and application conditions matter for a proper cure.
- EPA – Spray Polyurethane Foam (SPF) Insulation and How to Use It More Safely – Federal guidance on SPF safety, exposure during and after installation, ventilation, and safe re-entry considerations.
- EPA – Mold – Official EPA resource establishing that moisture control is the key to mold control, with practical humidity targets for preventing indoor mold growth.
- EPA – A Brief Guide to Mold, Moisture and Your Home – Homeowner guidance on drying wet materials within 24 to 48 hours, identifying hidden mold, and deciding when professional cleanup is needed.