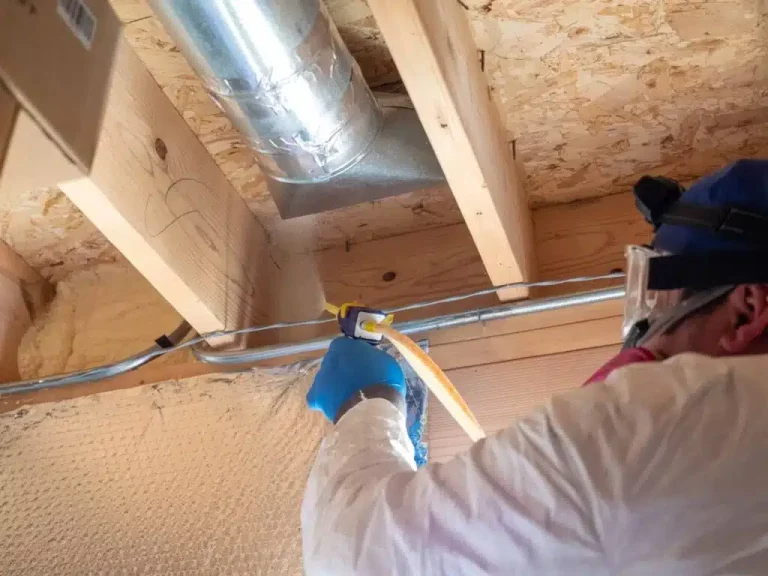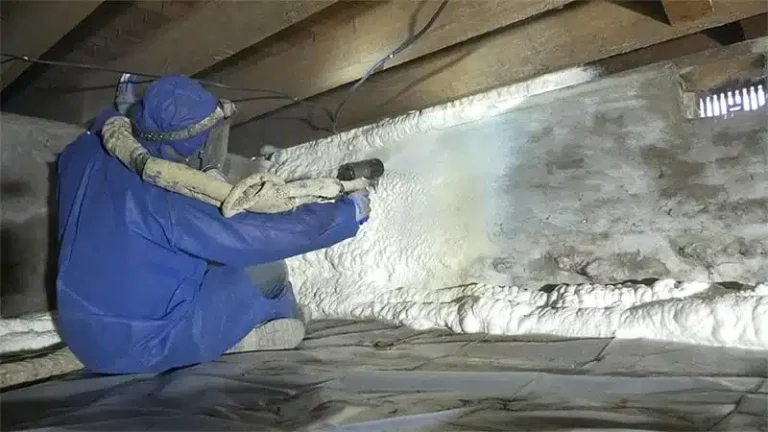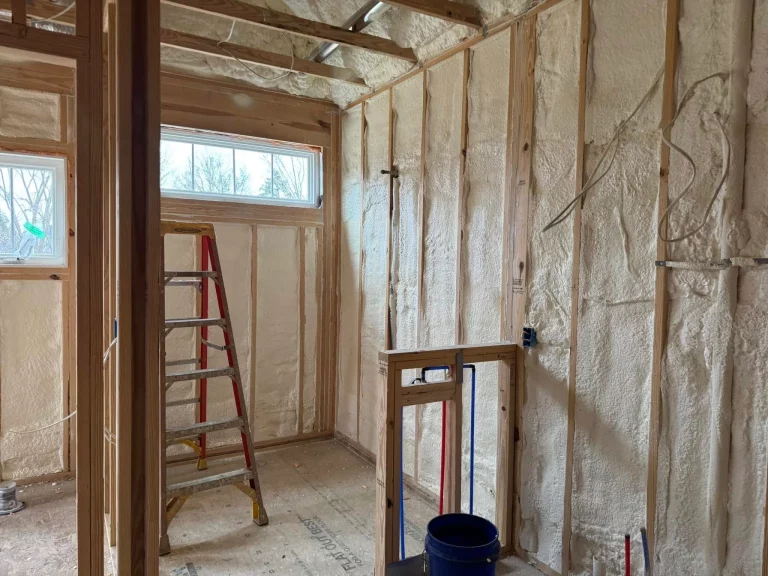

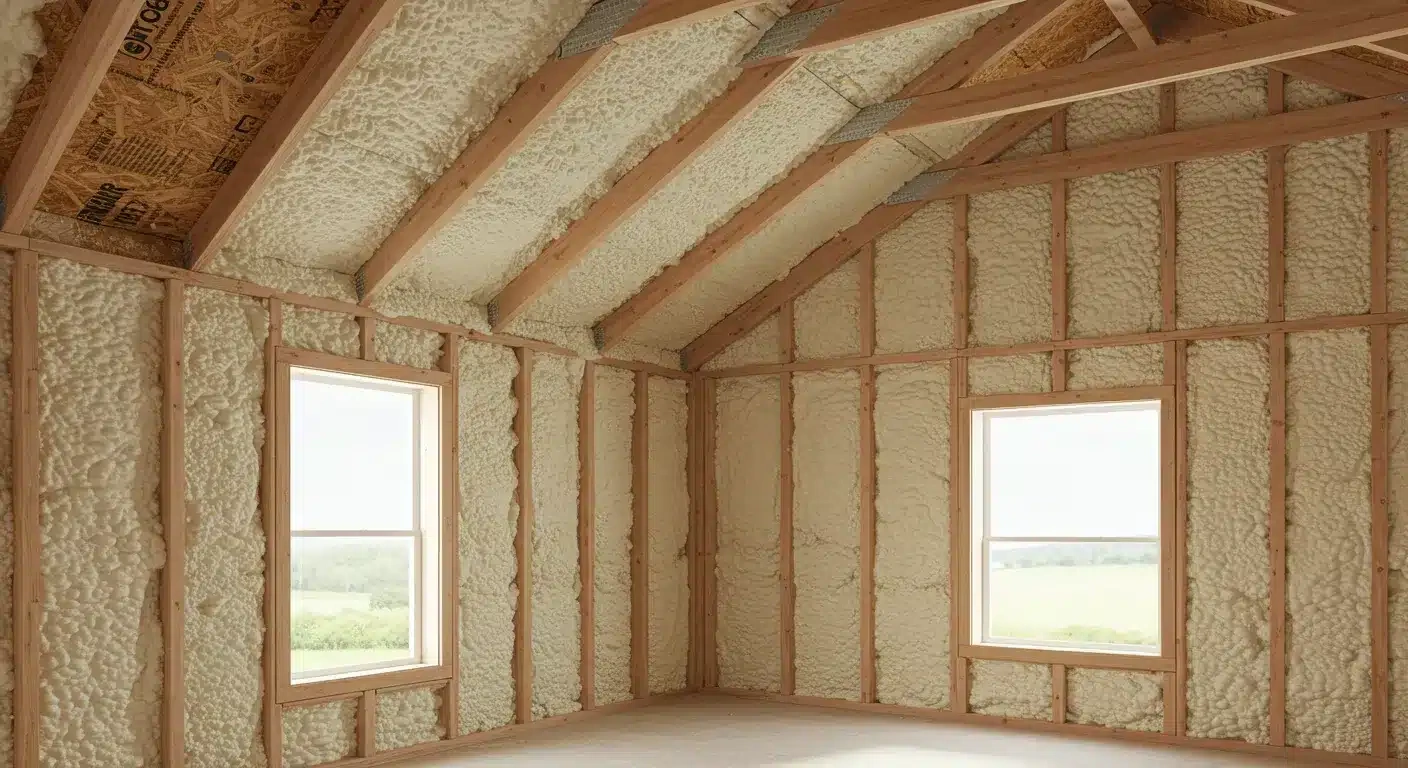
Spray foam insulation is one of the most effective materials available for sealing and insulating homes, but like any building material, it can develop problems over time that reduce its performance. When gaps, shrinkage, moisture damage, or discoloration appear, the insulation loses its ability to resist heat transfer and block air infiltration. Spray foam repair services can restore the thermal barrier, improve indoor comfort, and reduce the load on your heating and cooling systems. The right repair approach depends on the type of spray foam installed, the extent of the damage, and whether the underlying cause, such as moisture or poor installation, has been addressed.
TL;DR
- Spray foam insulation works by creating a continuous seal that blocks conduction, convection, and radiation, but damage frozm moisture, shrinkage, or physical impact compromises that seal
- Open-cell spray foam has interconnected pores and is more flexible, while closed-cell foam has sealed cells and provides higher R-value per inch, making the repair approach different for each type
- More than half of a household’s annual energy use goes toward heating and cooling, so even small insulation gaps lead to measurable energy waste
- Common damage signs include visible gaps at joints, discoloration from moisture, soft or crumbly spots, and persistent odors that indicate trapped moisture or chemical breakdown
- Repairs range from simple caulk and spray-foam touch-ups for small gaps to full section removal and replacement for moisture-damaged areas
- Addressing the root cause, whether roof leaks, plumbing issues, or ventilation problems, is essential before any repair work begins
- The R-value of spray foam can degrade over time if the foam is exposed to moisture or if blowing agents diffuse out of closed cells, making periodic inspection worthwhile
Understanding the Two Types of Spray Foam
Not all spray foam is the same, and the type installed in your home determines both how it performs and how it should be repaired. Polyurethane foams, the chemistry behind spray foam insulation, are thermosetting polymers that cannot be melted or reshaped once cured. This means repair requires adding new material or replacing compromised sections, not patching with heat.
- Open-cell spray foam has an interconnected cellular structure where pores are not sealed off from each other. It is lighter, more flexible, and expands significantly during application to fill cavities. Open-cell foam acts as both an insulator and an air barrier, but it can absorb and hold water if exposed to moisture. This makes it more susceptible to water-related damage, particularly in below-grade applications or where roof leaks occur.
- Closed-cell spray foam has individual sealed cells that do not interconnect. It is denser, provides a higher R-value per inch (approximately R-5.5 to R-6.5 per inch compared to roughly R-3.6 for open-cell), and offers moisture resistance because water cannot easily penetrate the sealed cell structure. Closed-cell foam also adds structural rigidity to the assembly it is applied to.
| Property | Open-Cell Spray Foam | Closed-Cell Spray Foam |
|---|---|---|
| R-value per inch | ~R-3.6 | ~R-5.5 to R-6.5 |
| Cell structure | Interconnected, open pores | Individual sealed cells |
| Moisture resistance | Absorbs water if exposed | Resists water penetration |
| Flexibility | More flexible, accommodates movement | Rigid, adds structural strength |
| Common applications | Walls, crawl spaces, attics | Rim joists, exterior walls, below-grade |
| Repair difficulty | Moderate, replacement patches bond well | More involved, may require section removal |
Common Problems That Require Spray Foam Repair
Gaps and Separation at Joints
Over time, spray foam can pull away from framing members, especially at transitions between different materials. Thermal cycling causes wood and metal to expand and contract at different rates than the cured foam, creating small gaps. These gaps allow air infiltration, which undermines the primary advantage of spray foam: its ability to create an airtight seal.
Shrinkage
Some spray foam products, particularly lower-quality formulations or improperly mixed applications, can shrink as they cure or over years of service. Shrinkage pulls the foam away from studs, sheathing, and other surfaces, opening pathways for air movement. According to research cited in the R-value article on Wikipedia, closed-cell polyurethane foam can experience a reduction of its insulating value over time, particularly when blowing agents diffuse out and are replaced by air.
Moisture Damage
This is the most serious problem for spray foam. In open-cell foam, water absorption leads to reduced thermal performance because wet insulation conducts heat more effectively than dry insulation. The Wikipedia article on building insulation notes that moisture can drastically reduce the effectiveness of insulation by creating thermal bridges and encouraging microbial growth. Prolonged moisture exposure can also cause the foam to degrade, become soft, or develop mold.
Physical Damage
Renovation work, plumbing repairs, electrical upgrades, or pest activity can all damage spray foam insulation. Even small punctures compromise the air-sealing layer, and larger breaches can expose the foam to moisture and pests.
Discoloration and Odors
Yellowing or dark staining on spray foam surfaces often indicates prolonged UV exposure or chemical breakdown. Persistent chemical odors may signal incomplete curing, off-gassing of blowing agents, or moisture-related degradation. The EPA’s indoor air quality resources note that controlling moisture and ensuring adequate ventilation are fundamental to maintaining healthy indoor environments, both of which factor into spray foam performance.
Step-by-Step Repair Process
1. Identify and Address the Root Cause
Before touching the foam, find out why the damage occurred. Check for roof leaks, plumbing drips, condensation issues, or ventilation failures. Repairing spray foam without fixing the underlying problem guarantees the damage will return. This is the most commonly overlooked step and the one that leads to repeat failures.
2. Assess the Extent of Damage
Determine whether the damage is superficial, moderate, or severe. Small gaps and hairline cracks at joints can often be sealed with a compatible spray foam sealant. Moderately damaged areas with soft or discolored foam should be removed and replaced. Severely water-damaged sections, particularly large areas of open-cell foam that have been saturated, typically require full removal down to the substrate.
3. Remove Damaged Material
Using a utility knife, oscillating tool, or saw, cut away the compromised foam. For small repairs, remove enough material to expose clean, dry surfaces on all sides. For larger sections, remove the foam in manageable pieces, taking care not to damage wiring, plumbing, or the structural framing beneath. Bag and dispose of removed foam properly.
4. Prepare the Substrate
The surface where new foam will be applied must be clean, dry, and free of dust, debris, oil, and mold. Wire brush or sand the area if needed. If mold is present, clean it with an appropriate solution and allow the area to dry completely before proceeding. Applying new foam over a damp or contaminated surface will result in poor adhesion and early failure.
5. Apply Replacement Foam
For small gaps, use a spray foam sealant from a can, applying it in thin layers and allowing each layer to cure before adding more. For larger areas, professional-grade spray foam equipment provides better results because it delivers the correct mix ratio and temperature for proper expansion and curing. Match the foam type to the existing installation: open-cell replacement foam for open-cell installations, and closed-cell for closed-cell.
6. Verify the Repair
Once cured, inspect the repair for complete coverage, proper adhesion, and absence of gaps. Run your hand along the transition between old and new foam to feel for any air movement. If the area is accessible, consider using a smoke pencil to detect air leaks at the repaired joint.
When to Call a Professional
Some repairs are straightforward, but others require specialized equipment and expertise. Call a professional when the damage covers more than a few square feet, when the foam is in a hard-to-reach area like a cathedral ceiling or crawlspace, when mold is present, or when the damage involves structural issues. Professional installers have the training to match foam formulations, control application temperatures, and ensure the repair restores the original thermal and air-sealing performance.
The EIA reports that more than 52% of household energy consumption goes toward space heating and cooling. Every gap in your insulation barrier works directly against that energy expenditure. Professional repair ensures the seal is restored to its intended performance level.
Recommended Approaches by Situation
| Situation | Recommended Action | Key Consideration |
|---|---|---|
| Small gap at framing joint | Spray foam sealant from can | Clean surface first, apply in layers |
| Shrinkage gap along stud wall | Inject new foam behind existing | May require drilling access points |
| Water-damaged open-cell foam | Remove and replace affected section | Fix leak source before replacement |
| Puncture from plumbing repair | Cut out damaged area, refill | Ensure plumbing is secure and sealed |
| UV-discolored foam near eave | Assess structural integrity, replace if crumbly | Address ventilation to prevent recurrence |
| Widespread installation failure | Full removal and reinstallation | Hire experienced professional |
Signs You Have Found the Right Repair Team
A qualified spray foam repair team will start by asking about the history of the problem rather than quoting a price over the phone. They will inspect the damage in person, identify the root cause, and explain their findings clearly before beginning work. They will match the foam type to your existing installation, carry appropriate safety equipment, and offer a warranty on their repair work. Transparency about limitations, such as areas that are difficult to access or potential hidden damage, is a strong indicator of a trustworthy professional.
Get Your Spray Foam Insulation Inspected and Repaired
Supreme Spray Foam Fresno provides professional spray foam inspection and repair services for homeowners throughout Fresno and the surrounding Central Valley. Our team assesses damage, identifies root causes, and restores your insulation to full performance using the right materials and methods for your specific installation. Whether you are dealing with small gaps, moisture damage, or widespread deterioration, we deliver lasting repairs that protect your home and reduce energy waste.
Call us at (559) 545-0800 or email [email protected] to get started.
Frequently Asked Questions
Can I repair spray foam insulation myself?
Small gaps and hairline cracks can be addressed with consumer spray foam sealant, but larger repairs involving water damage, mold, or structural issues should be handled by a professional to ensure proper material matching and adhesion.
How do I know if my spray foam has water damage?
Look for dark stains, soft or crumbly texture, a sagging appearance, and musty odors. Open-cell foam that has been saturated will feel heavy and spongy compared to its original firm texture.
How long does spray foam repair take?
Small touch-ups can be completed in under an hour, while larger section replacements may take a full day or more depending on the extent of damage, accessibility, and curing time required.
Does spray foam insulation need maintenance?
Periodic visual inspections, particularly after storms, plumbing work, or renovations, help catch problems early. No routine maintenance is required if the foam remains undisturbed and protected from moisture and UV exposure.
Can damaged spray foam affect indoor air quality?
Yes, moisture-damaged foam can harbor mold growth and off-gas chemicals as it degrades. The EPA emphasizes that controlling moisture and ventilation is essential for maintaining healthy indoor air quality in insulated homes.
Sources
- Building Insulation – Wikipedia – Comprehensive reference on thermal insulation materials, R-values, heat transfer mechanisms, and the role of insulation in building energy performance.
- Polyurethane Foam – Wikipedia – Technical overview of polyurethane foam chemistry, classification into open-cell and closed-cell types, and applications in thermal insulation.
- R-value (Insulation) – Wikipedia – Detailed explanation of R-value as a measure of thermal resistance, including typical R-values for spray foam insulation types and factors affecting performance over time.
- Energy Use in Homes – U.S. Energy Information Administration – Government data showing that 52% of U.S. household energy consumption goes to space heating and cooling, underscoring the impact of insulation performance.
- Indoor Air Quality (IAQ) – U.S. Environmental Protection Agency – EPA guidance on indoor air pollutants, moisture control, and ventilation, relevant to maintaining healthy conditions in spray foam-insulated homes.

- What Makes Crawl Space Spray Foam a Choice for Better Air Quality in Oakhurst, CA? - September 22, 2026
- Crawl Space Spray Foam: Types, Benefits, Costs, Installation, and Guide - September 22, 2026
- How Long Should Spray Foam Insulation Last Before It Needs to Be Repaired in Ahwahnee, CA? - September 11, 2026